Build a Sequence Around the Lunar Limb
A lunar occultation turns the edge of the Moon into the center of a photographic sequence. A planet approaches the limb, disappears, and returns on the other side. The changing relationship can be more revealing than any single frame.
The September 14, 2026 occultation of Venus provided that geometry across parts of Europe, Africa, the Middle East, and Asia. Soumyadeep Mukherjee's DIYPhotography guide described the challenge of photographing the alignment in daylight. The event is now a useful planning example for future occultations and for reviewing the images made during it.
An occultation occurs when a nearer object passes in front of a more distant one. For a photographer, its structure suggests three capture priorities: establish the pair, record the contact with the lunar edge, and show the return.
Start With the Local Geometry
The In-The-Sky.org event calculation , based on JPL's DE440 ephemeris, gives the September 14 global interval as approximately 09:26 to 13:42 UTC. That span covers the event across Earth. Each observing location has its own contact times, altitude, and horizon conditions.
For a future session, enter your exact location in the event planner and record the predicted disappearance and reappearance. Check the time zone and daylight-saving setting. Add an earlier setup time and the point at which a roof, tree, or building would obstruct the view.
An event map can show different visibility boundaries for disappearance and reappearance. Read both before choosing a site. Outside the occultation path, a close conjunction may still offer a composition, with the planet beside the Moon rather than behind it.
Scout at the expected direction and altitude. A clear view from one side of a terrace may become blocked as the sky moves, while a nearby roof can introduce rising warm air into the line of sight.
Keep the Sun Outside the Optical Path
Daytime photography requires a deliberate separation between the target and the Sun. The American Astronomical Society's optical-safety guidance warns against looking at the Sun through an unfiltered camera lens, binoculars, or telescope. Concentrated sunlight can injure eyes and damage equipment.
Choose a position where a solid wall or roof blocks direct sunlight from reaching every optic while leaving the Moon visible. Check that the Sun will remain excluded as its position changes throughout the session. Keep auxiliary finders capped or removed, and keep the main optic capped while repositioning through an uncertain direction.
Use a verified sky position to guide small, controlled adjustments toward the Moon. Compose on the rear screen once the optical path is clear of the Sun. Live view does not protect a camera pointed at the Sun, and eclipse glasses do not make looking through unfiltered magnifying optics safe. If you cannot maintain that separation, move to another site or stop using the optics.
Rehearse Framing, Focus, and Exposure
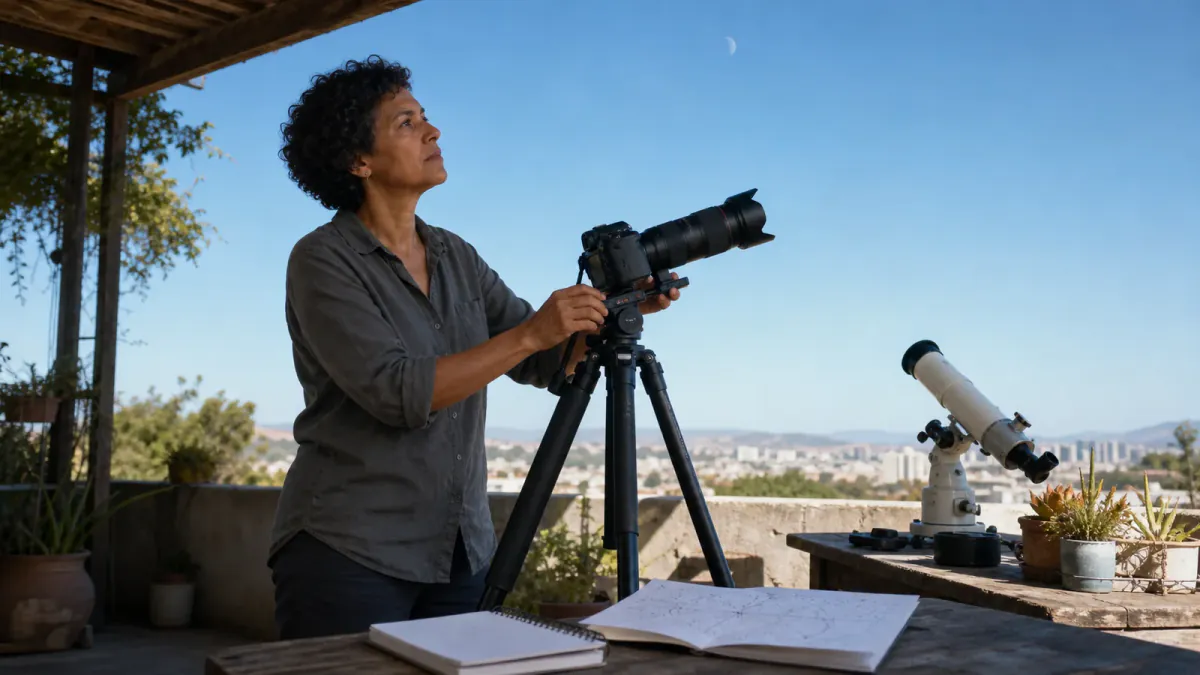
A camera with a 300mm to 600mm lens offers a practical starting range for this kind of alignment. Greater magnification makes the lunar edge larger but also reduces the field of view. Begin toward the wider end, locate the pair, and tighten the composition only when you can track it comfortably.
Use a stable tripod or suitable telescope mount and a remote release. Rehearse the controls before the session, including magnified live view, burst shooting, and any sleep setting that could interrupt the contact sequence.
NASA's lunar photography guide emphasizes experimentation with manual settings and stable support. For the September daylight event, Mukherjee suggested ISO 100 to 400 and shutter speeds around 1/250 to 1/1000 second as starting points. Set an appropriate aperture, then adjust from the histogram and a magnified inspection of the actual image.
Focus on Venus or a clearly defined section of the lunar limb. Inspect both for clipping and softness, since a bright planet and faint crescent can demand different exposure choices. Short bursts give you several frames to compare when atmospheric shimmer changes the apparent sharpness from moment to moment.
Capture the Approach and the Return
Organize the session around three groups:
- Approach: leave enough space to show the Moon and Venus together before contact.
- Contact: hold framing, focus, and exposure steady through disappearance and reappearance.
- Context: make a separate wider view if the surrounding landscape adds something useful.
Start the contact sequence early enough to allow for timing uncertainty. Check available storage and the camera's buffer during rehearsal, then choose a burst rhythm it can sustain. Save changes of lens or mounting hardware for outside the critical interval.
Synchronize the camera clock and preserve the original files. Afterward, arrange the contact frames chronologically before selecting for sharpness. A slightly earlier image may describe the separation more clearly than the final instant before disappearance.
Edit for Clarity and Time
Present a sequence with accurate intervals, and identify any time composite or exposure blend. Preserve the recorded positions of the objects when the image is intended as a record of the event.
In my Cropping With Intention study at Kisau Photography , the frame's boundaries determine which visual relationship takes priority. For an occultation, a useful crop gives the planetary crescent and lunar limb enough room to remain readable together.
Let conditions shape the final selection. A wider image through light haze may communicate the alignment more clearly than a soft, enlarged detail. Careful timing and a well-paced edit can turn a brief celestial crossing into a sequence whose movement is easy to follow.